Onboard the Admin (First User)
When you create a Rexolia account, your business is provisioned automatically but has no users yet. The very first account you create is the Administrator (Admin), the main user who owns and manages the business space.
This guide covers only that admin step in detail. For the full sign-up flow, see Create a Free Account. If you already created a business account but no user yet, the guid section below picks up from the email you received when onboarding your Business.
Before you start
You have just registered a business and received a verification code by email. Keep it ready, the Registration Code field is required below.
- You must use the same email address you used when creating your business account.
- Make sure you can access that email inbox. If the code isn't in your inbox, check your spam folder.
Create the admin account
-
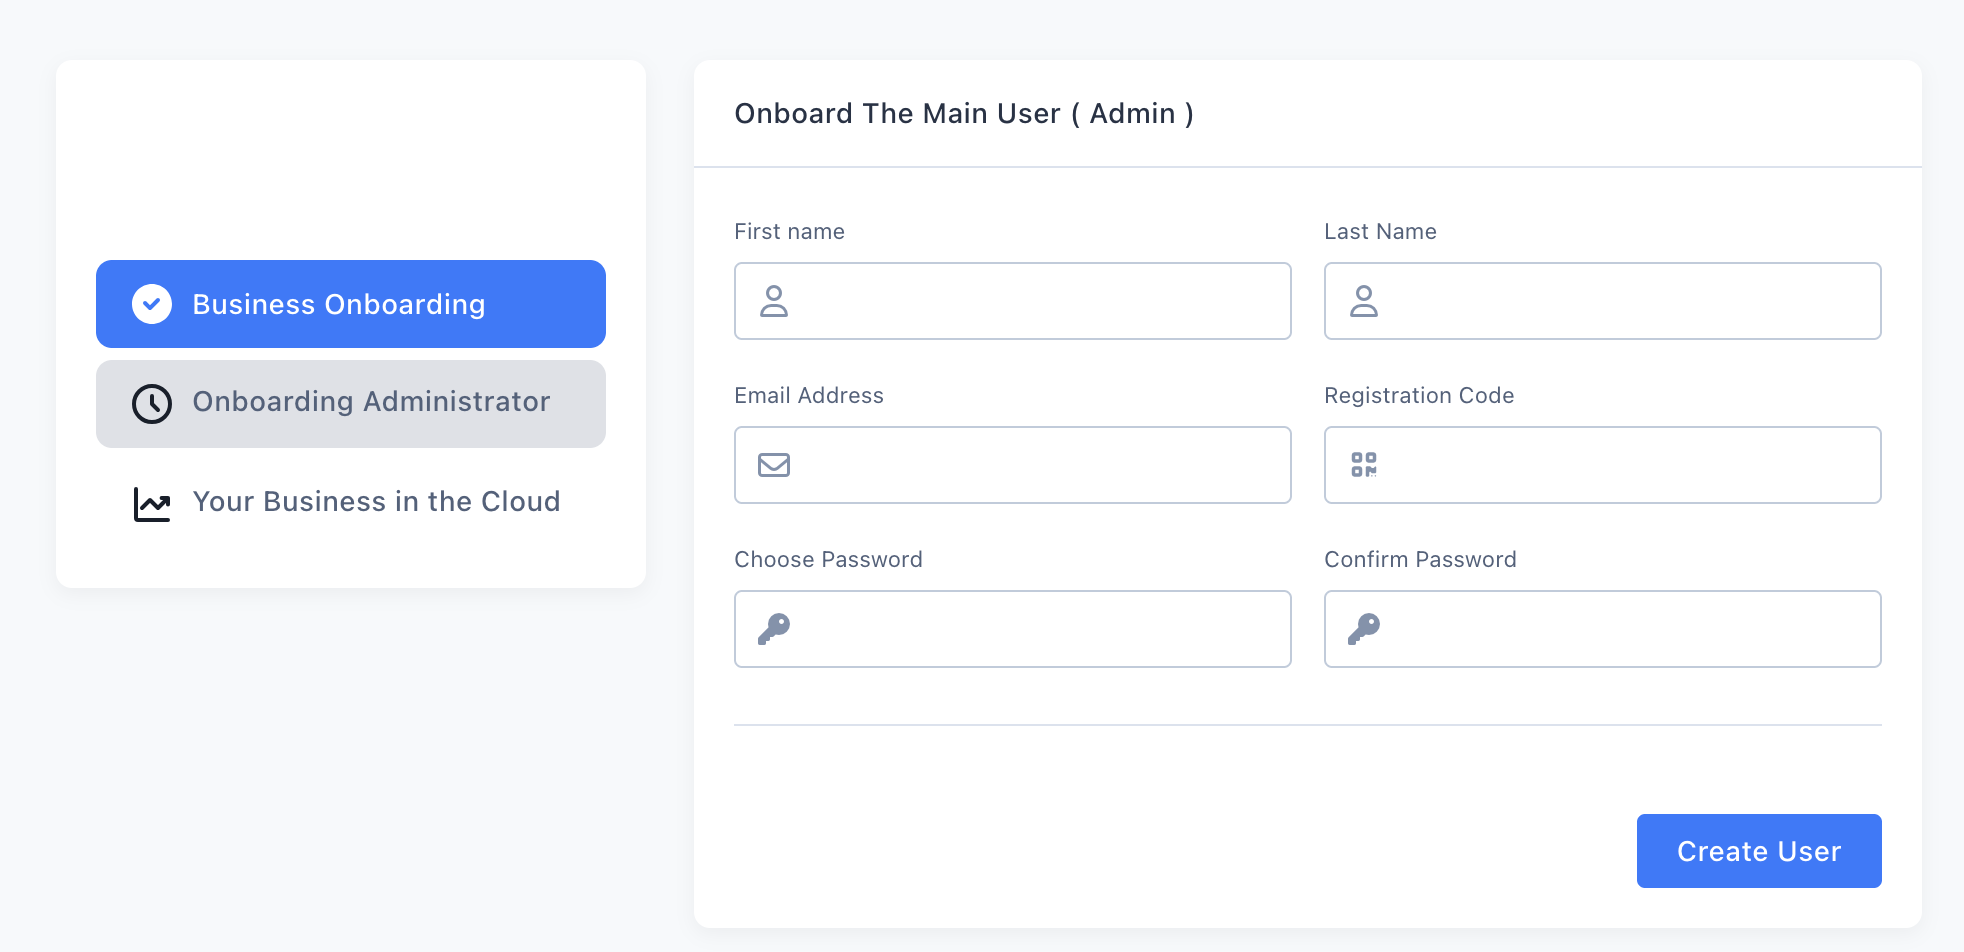
After your business finishes provisioning (3–7 minutes), you are taken to the Onboard The Main User (Admin) screen.
-
Fill in the form fields:
- First Name: Your first name.
- Last Name: Your last name.
- Email Address: The same email used during business account creation.
- Registration Code: The code that was emailed to you during signup.
- Choose Password: A password for your admin account.
- Confirm Password: Re-enter your password.
-
Click Create User.
The email must match the one used at business signup. If the registration code doesn't validate, double-check that you entered the correct email and copy the code exactly as it appears in the email (including spam).
What happens next
- Your account is created as the business's Administrator (Admin) with full access.
- You can now log in to your new Rexolia space. Because you chose a password on this form, you can sign in straight away, no email link is needed.
Unlike team members added later (who first activate a password via email), the admin's password is set here directly. If you ever forget it, use Forgot Password ? on the Login screen, see Set & Reset Your Password.
→ Then complete your business details (business name, TIN, address, currency), which appear on all your documents. See Create a Free Account.
Related
- Create a Free Account: The full sign-up and business-setup flow.
- Initial Setup: Configuring currency, journals, and RRA tax classes before you transact.
- Onboard a New User: Adding additional team members to an existing business.